

Digital Window Display Installation NZ: First-Time Checklist
Most first digital window displays go wrong before the screen is switched on. The shopfront gets measured on the wrong day, the power point sits on the wrong side of the glass, or the content team discovers nobody has the login. For a café in Auckland or a real estate office in Hamilton, a screen that sits dark for two weeks costs more than the hardware. This checklist sets out what to check, and in what order, so your first digital window display installation NZ project goes live on schedule.
Table of Contents
- Quick Takeaways
- Survey the Window Before You Order
- Structure, Power and Network
- Content and Scheduling Readiness
- Commissioning and Install Day
- Comparing Installation Approaches
- Handover and Service Access
- Ongoing Checks After Go Live
- Frequently Asked Questions
- References
Quick Takeaways
| Key Insight | Explanation |
|---|---|
| Measure sightlines from the footpath | Stand where your customers walk and confirm the screen reads at normal distance, not only from inside the shop. |
| Confirm power and Wi-Fi before ordering | Know the nearest power point, its circuit, and whether the signal is stable at the exact spot the screen will hang. |
| Check the frame and glass | Confirm the fixing method and frame can carry the screen and bracket, and get landlord approval in writing. |
| Map the sun exposure | Note which hours the window gets direct sun, because glare decides whether your content is readable. |
| Load approved content before install day | A screen that launches on a test pattern or placeholder logo damages trust before a customer sees your offer. |
| Name one content owner | One person should publish, schedule and approve changes, with a backup, and that name belongs in the handover notes. |
Survey the Window Before You Order
The survey decides what you buy, so do it before you discuss screen sizes with anyone. Stand on the footpath where people actually walk, then at the bus stop or car park if that is where traffic slows. Take your photos at the time of day your trade peaks, not at 10am on a quiet Tuesday.
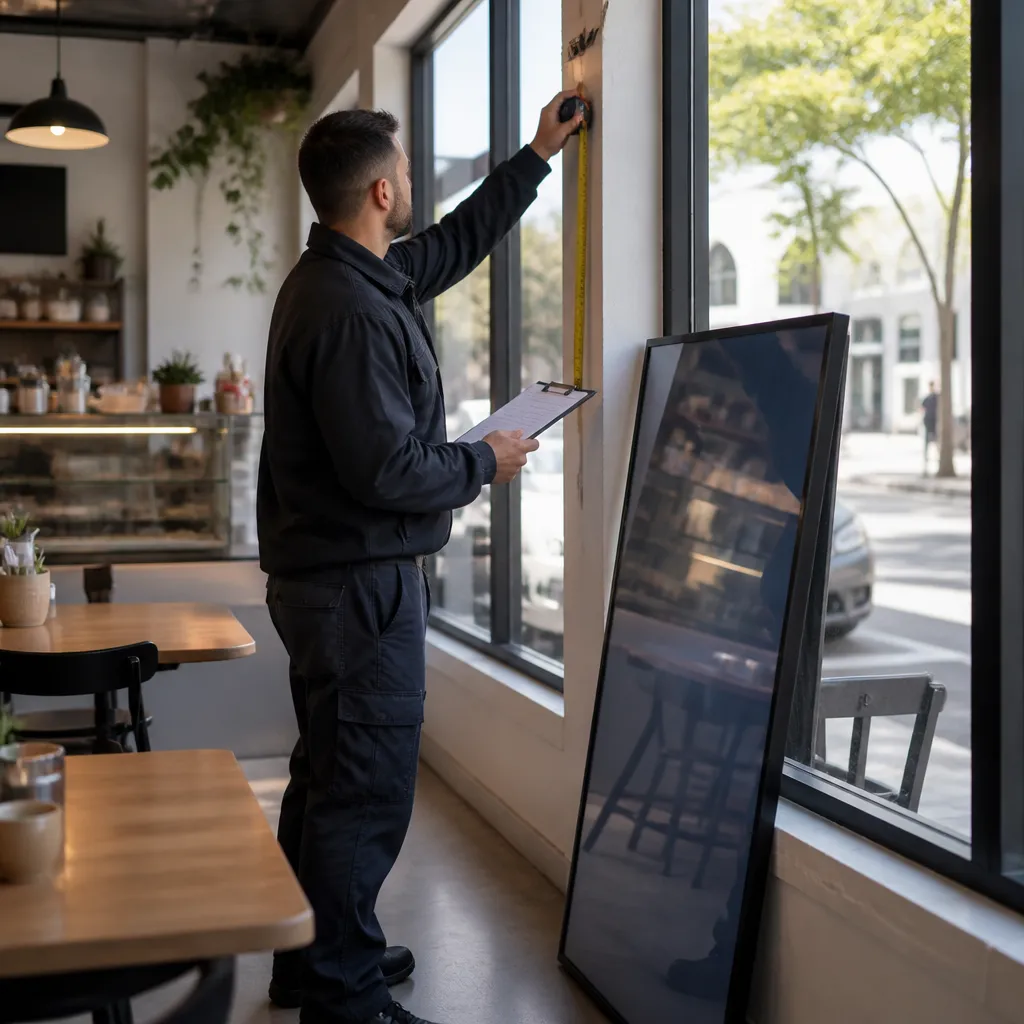
Measure the glass opening, the frame depth, and the height from the footpath to the bottom of the display. Note whether the glazing is single or double, and whether a transom, tile line or old signage bracket sits in the way. Older shopfronts often hide timber rot, uneven frames, or a bar that looks minor until the bracket goes in.
Sightlines and viewing distance
Ask who needs to read the screen, from how far away, and for how long. A real estate display is read by someone walking past at a few metres, so headlines must be large and simple. A café menu screen can carry more detail because people stop and look at it.
Sun exposure and glare
Write down which hours the window gets direct sun. A west-facing shopfront takes hard afternoon light, while a shop facing north gets more sun in winter, which is a different problem. Sunlight-readable screens handle this well, but you still need to decide on angle, shading, and which content runs in the brightest hours.
Pro tip: Take your survey photos at the same time of day you plan to run content. Glare at 4pm looks nothing like the morning photos you showed the client.
Structure, Power and Network
Once the survey is done, check the structure the screen will hang from. A hanging cable LCD display and a backlit unit place different loads on a frame, so the fixing plan belongs in the project brief, not left to the installer on the day.
Frame and fixing method
Confirm the fixing point can carry the screen, bracket and cables together. Glass alone is rarely a fixing point. If the mounting relies on the frame, get the building owner or landlord’s agreement in writing, because many leases restrict what can be attached to a shopfront.
Power supply and circuit
Locate the nearest power point and find out which circuit it sits on. Ask a licensed electrician to confirm the outlet is safe, accessible, and not shared with equipment that draws a heavy load, such as coffee machines or fridges. Route the cable out of the customer’s view and well away from any water source.
Wi-Fi and remote management
Remote content management only works if the screen stays connected. Test the signal at the mounting spot, not at the counter inside the shop. A weak signal at the glass leads to buffering, failed updates, and a screen that quietly shows last month’s offer. Ask your provider what happens when the connection drops overnight, and whether the player keeps the last saved schedule.
Content and Scheduling Readiness
Most launches fail on content, not hardware. The screen goes live with a test pattern, a placeholder logo, or a file that does not match the panel. Build your first playlist before install day, and test every file on the actual screen or a matched preview.
Artwork specifications and file checks
Get the exact resolution and aspect ratio from your display supplier, then export files to match. Check that video is in a format the player supports, and that text stays readable at the viewing distance you measured during the survey. Do not stretch a landscape property photo to fit a portrait screen, because the distortion is obvious to anyone who walks past.
Scheduling and approval workflow
Decide who can publish, who approves, and what happens when a listing sells or a menu changes. A listing agent may need to remove a sold property within hours, so the process must work on a Saturday as well as a Tuesday. Set the rules once, and the screen will never show out of date information for long.
Integration with your existing tools
If your business already runs a CRM or content system, check whether the display software can connect to it before you buy. At V Media, CRM and CMS integration is included in the software subscription, so you can confirm it in the same quote. Ask any provider to put that in writing, because integration is far easier to plan than to retrofit.
Commissioning and Install Day
On install day, most of the work is checking. The installer fixes the bracket, runs the cables, and powers up the unit, then you test everything before the crew packs up. Treat the first hour after power-up as the most important part of the job.
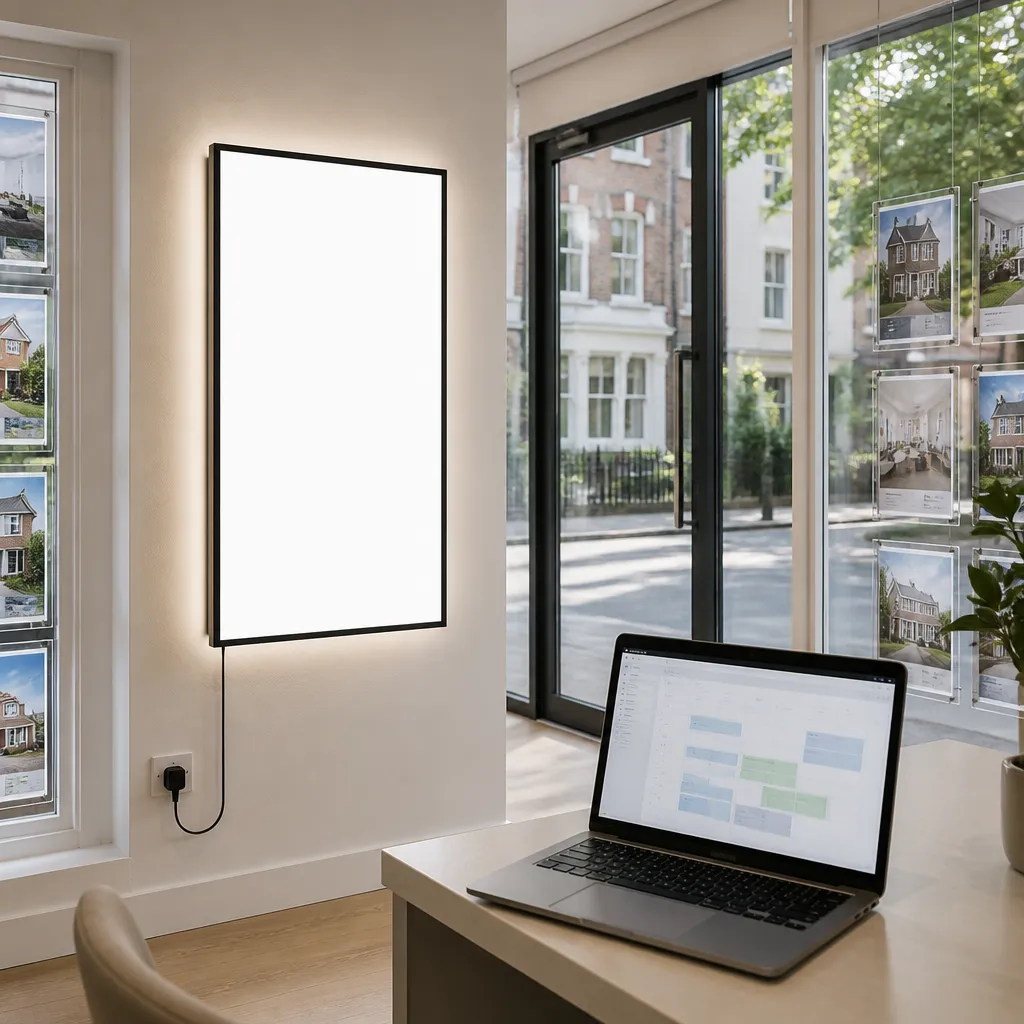
Orientation and playback test
Confirm the screen orientation, brightness, and playback from the actual viewing position. Walk the footpath, check the content from each direction people approach, and watch the full playlist once. A single file that stutters will be obvious to a customer who waits at the window.
Recording equipment details
Write down the serial numbers, the player ID, the network name, and where the login details are stored. Keep photos of the fixing points and the cable route. When a fault appears months later, those records will save you more time than the installer’s invoice.
Pro tip: Ask the installer to leave a labelled spare power cable and a copy of the mounting details on site. Both are cheap, and both save a return visit.
Comparing Installation Approaches
Three approaches cover most first window displays. Each suits a different building, budget, and tolerance for disruption. The table compares them on the points that matter most on install day.
| Approach | Best for | Main trade-off |
|---|---|---|
| Hanging cable LCD display | Cafés and retailers with a tall window and a clear fixing point on the ceiling or wall | Cables run in front of the glass line, so route them carefully and check the drop length |
| Surface-mounted LCD behind the glass | Real estate offices with a deep window and a flat internal wall | Needs a clear wall behind the glass and a bracket fixed to internal framing |
| LED backlit display | Businesses that want high brightness for long, round-the-clock advertising | Heavier fixing and more careful power planning, though built for long-running use |
For a first project, we usually recommend the option that needs the fewest holes in the building and the shortest cable run. Compare these options against our display range before you finalise the brief. The right choice is the one your survey supports, not the one that looks best in a brochure.
Handover and Service Access
Handover is where many first installs fall apart. The installer packs up, the new owner has a screen and a login, and nobody is sure who fixes it when something breaks. A proper handover covers operation, support contacts, and the people allowed to change content.
Most first installs do not fail on the day. They fail in the weeks after, when nobody knows who owns the screen.
Service access
Leave room to reach the player, the cable junction, and the mounting bolts without moving furniture or climbing a ladder in a busy shop. Clean the outer glass regularly, because dust and fingerprints reduce readability on a bright screen. A display that is hard to service tends to be switched off the first time it develops a fault.
Support routes and escalation
Write down who to call for a blank screen, a failed update, or a damaged panel, and what details they need. Include business hours, the after-hours route, and the expected response time. Ask whether the support agreement covers on-site visits or only remote fixes, since that changes what you can expect in Christchurch, Tauranga, or anywhere outside your main city.
Ongoing Checks After Go Live
The first 30 days show whether the install was right. Check the screen at opening, midday, and closing on several different days, and log anything that looks wrong. Small faults such as flicker, slow updates, or a dim corner usually appear in the first month.

First month review
Compare the live screen with your survey photos. Glare you missed, a neighbouring sign that competes for attention, or a playlist that runs too long can all be fixed quickly if you catch them early. Make a short list and send it to the installer while the crew still remembers the site.
Monthly content and software review
Review the playlist every month, remove expired offers, and confirm that software updates have applied. A screen showing last season’s promotion damages trust faster than an empty window. Give this review to the same person who approves content, so it does not fall between roles.
Frequently Asked Questions
How long does a first digital window display installation take in NZ?
For a single window with power and Wi-Fi already in place, plan for a half day on site, plus the survey and content work beforehand. Add time if the frame needs fixing, if new electrical work is required, or if the building owner needs to sign off.
Do I need an electrician for the installation?
In practice, yes. Have a licensed electrician check the outlet and circuit before fitting, and have any new power point installed by a licensed person. Never run an extension lead across the shopfront to power the screen.
Can a screen be fixed directly to the glass?
Glass is rarely a suitable fixing point on its own. Use the frame or a structural fixing approved for the screen weight, and check with the landlord before drilling anything.
What if the Wi-Fi is weak at the window?
Test the signal at the exact mounting spot before you buy. If it is weak, use a wired connection where possible or a booster placed inside the shop, and confirm the player keeps the last schedule if the link drops.
Who should own the display content?
One named person should approve and publish content, with a trained backup. Record that name, the login process, and the support route in the handover notes.
Can a window display be used in direct sunlight?
Yes, if the screen is sunlight readable, but you still need to plan for glare. Check the orientation, schedule brighter content for sunny hours, and avoid placing text where reflections hit.
What was the hardest part of your first window display install, and what would you check differently next time?
References
- Digital signage installation checklist covering site survey, power, and handover
- Digital signage installation guide covering hardware staging and network credentials